
Introduction
Collecting reliable data is one of the hardest parts of any research project, and paper questionnaires often make it slower and more error-prone. KoboToolbox is a free, open-source tool that lets you design surveys, collect responses on a phone or browser, and manage your data in one place. It started as a tool for humanitarian work, and researchers and students now use it widely, including me during my PhD fieldwork. In this first tutorial of the series, you will learn how to create a KoboToolbox account, log in to the Global server, and find your way around the dashboard. By the end, you will be ready to start building your first data collection form.
What is KoboToolbox?
KoboToolbox is a free open source platform that is used to collect, manage and conduct preliminary analysis of data. It is particularly useful for surveys and was developed with the ability to collect data in remote areas.
It was initially created for use by humanitarian organisations but it is now widely used by other organisations and in academia as well.
How to sign up for a KoboToolbox account
Steps involved in signing up for a KoboToolbox account:
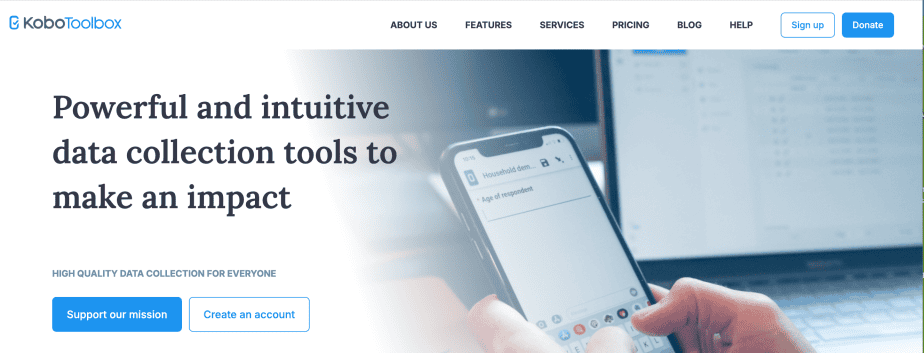
- Go to the website: https://www.kobotoolbox.org/
- Click on the “sign up” button on the top right
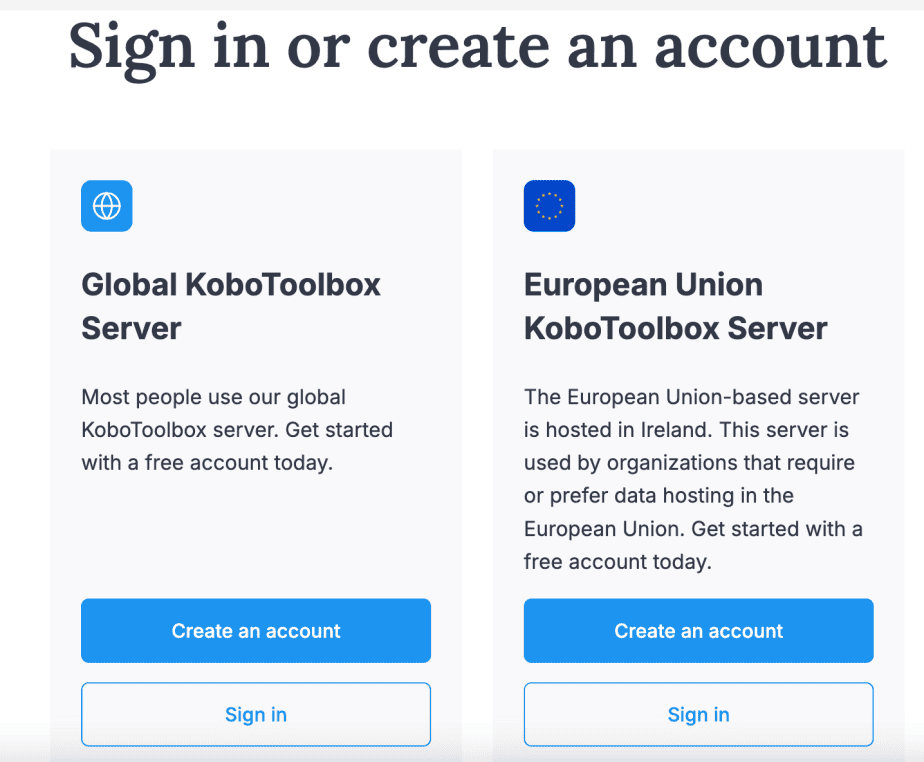
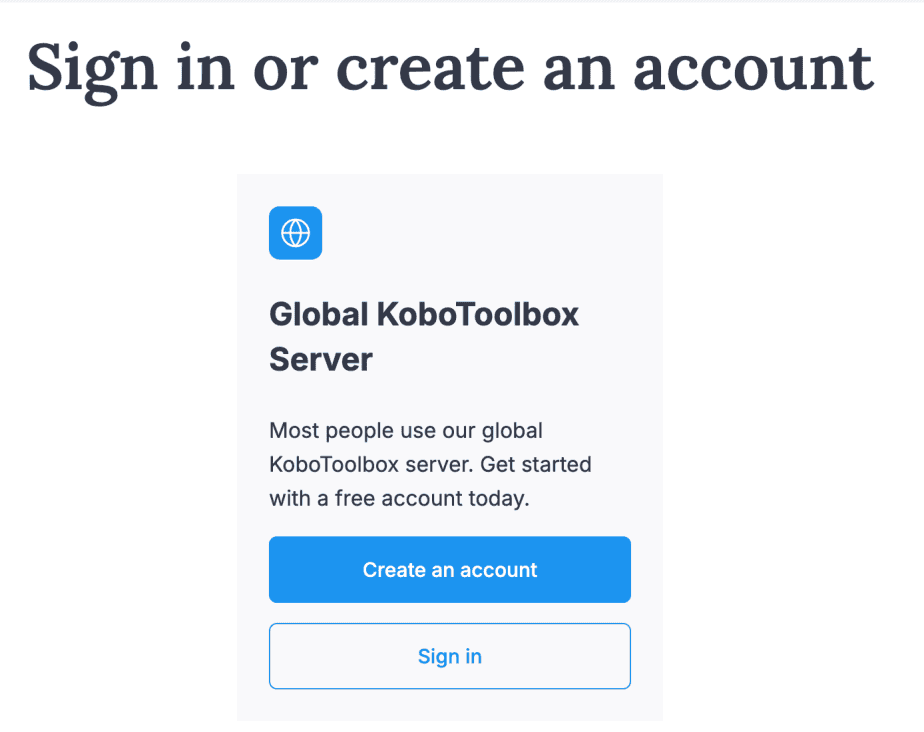
You will see two different options of servers to choose from.
- Choose the Global KoboToolbox Server and click on “create an account”
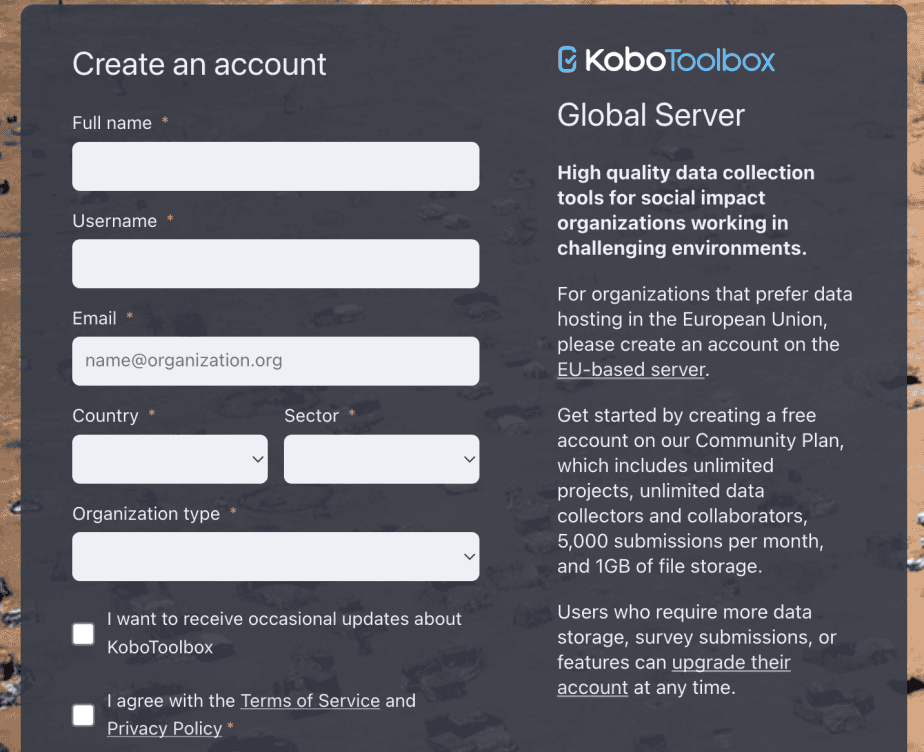
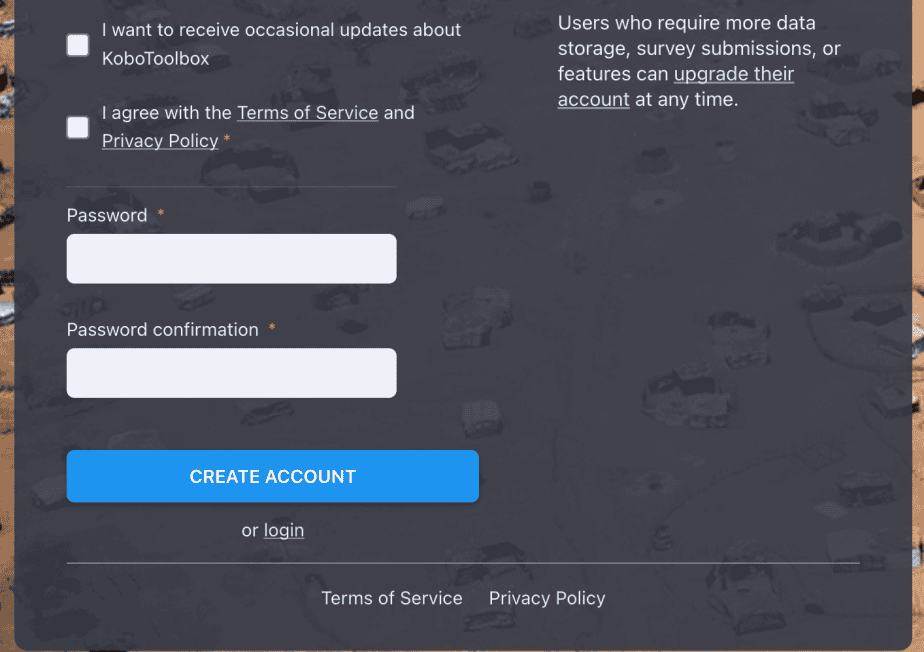
- Fill in the form and click “create account”
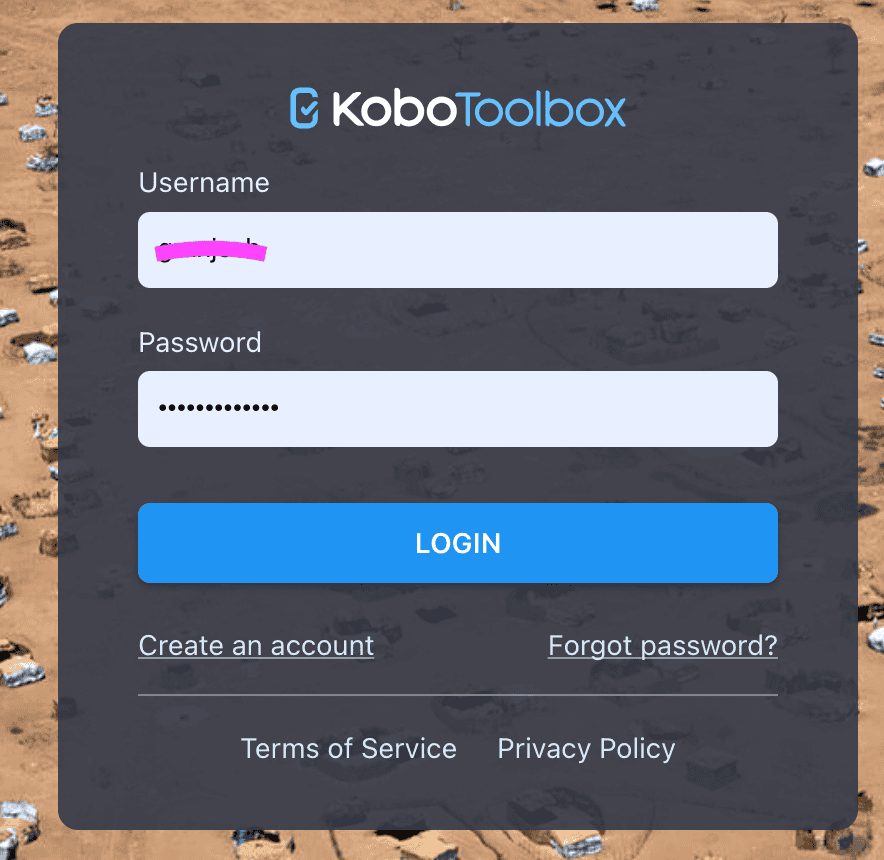
- To log in to your account, click “sign in” from the sign up page, enter your username and password and click “login”
The KoboToolbox interface
When you log in to your KoboToolbox account, the interface will look like the image below:
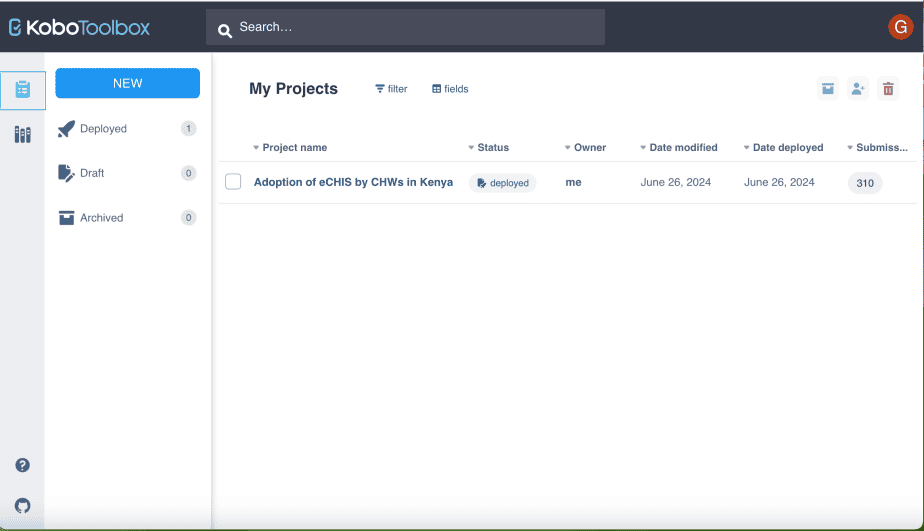
The KoboToolbox interface has several interfaces:
Projects
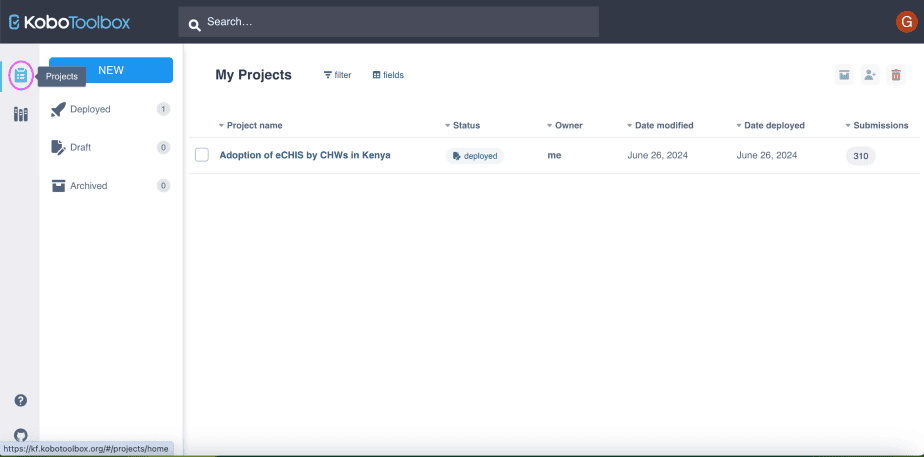
The projects interface is where all the projects are displayed. Projects can be in three formats:
- Deployed: these are projects that are currently being implemented. Data can be entered into the deployed forms.
- Draft: these are projects in draft formats and no data can be entered into the draft forms before deployment.
- Archived: once a project is complete and all the data required has been collected, one can archive the project.
Library
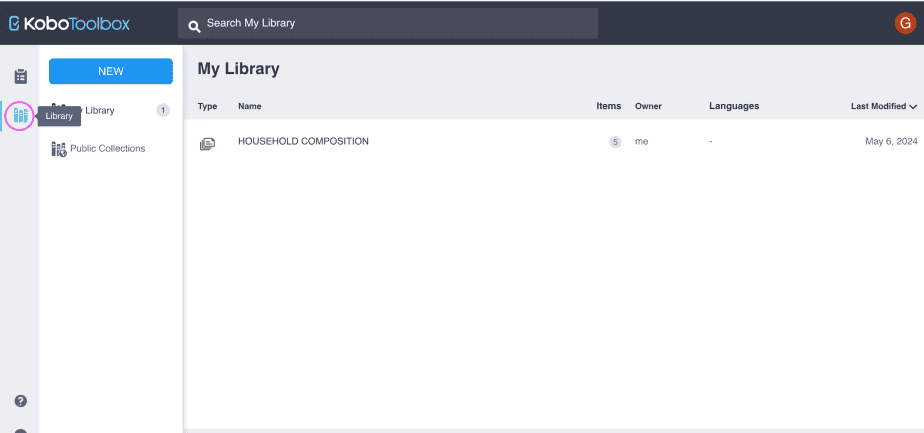
The library interface is a useful interface for saving questions that can be used in future projects.
It is especially useful for researchers with multiple projects and for which some questions may be common in all the projects, for instance, demographic information if doing individual surveys, or household composition if doing household surveys.
Hence, rather than creating a new questionnaire from scratch, one can simply import the library with the questions into a new form and proceed with the form development.
Account settings
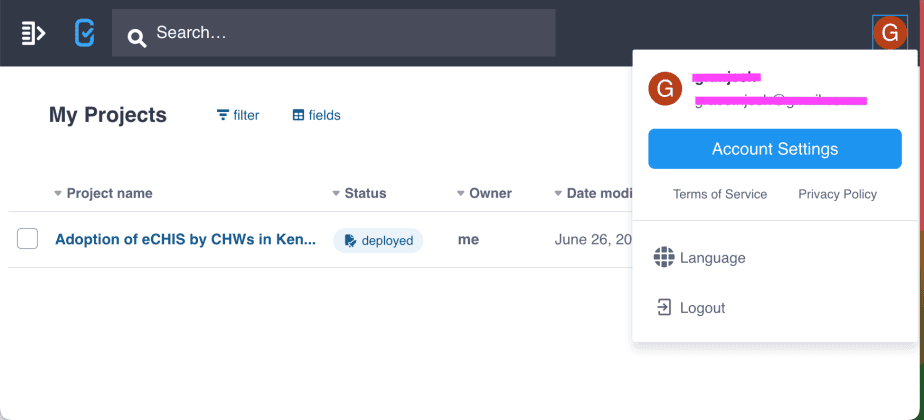
The KoboToolbox interface also has the section for account settings which allows one to change information about their profile, account security, and language.
It also features the KoboToolbox Terms of Service and Privacy Policy.
Additionally, one can log out of the account from this section.
Search function
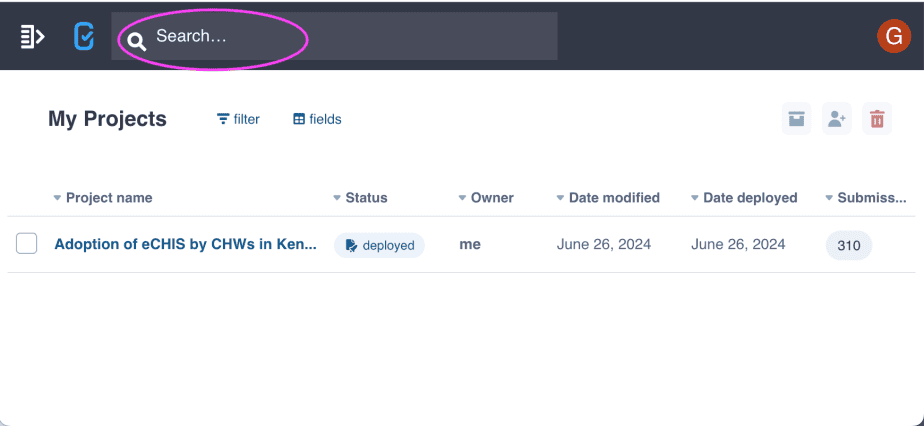
The KoboToolbox interface also has a search function that can be used to search for anything, for instance, you can search from your projects or from your library.
The search function is useful if you have multiple projects or libraries.
Help and source functions
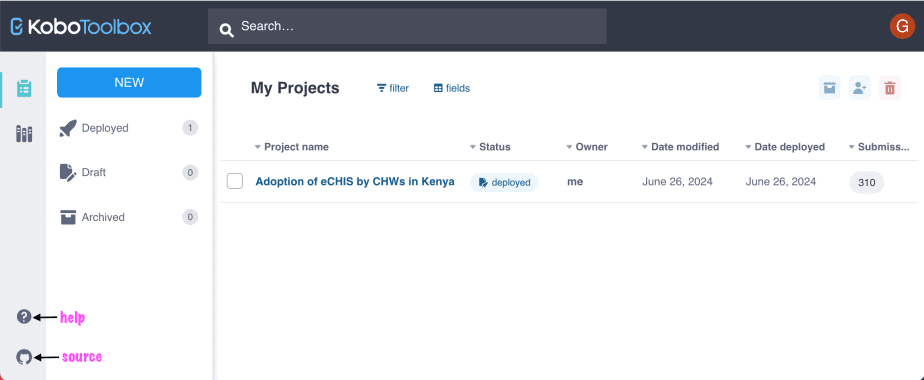
The KoboToolbox interface also has the help function which has three main features:
- Help center: users can search for help from the library of resources available in the center.
- Community forum: users can connect to other users of KoboToolbox, seek answers and share experiences and ideas.
- KoboToolbox Academy: which contains an online self-paced course created by the staff of KoboToolbox.
The source function on the other hand is useful for developers and programmers.
Clicking on the source function will take you to the link: https://github.com/kobotoolbox/
Conclusion
You now have a KoboToolbox account and understand the main parts of the interface: Projects, the Library, account settings, and the help resources. Getting familiar with these early will make every later step faster and less confusing. Take a few minutes to explore the dashboard and the KoboToolbox Academy before moving on. In the next tutorial, we will create your first form from scratch.
Other tutorials in the series
How to Create a Form in KoboToolbox from Scratch (KoboToolbox Tutorial #2)
KoboToolbox Question Types Explained: 23 Types + Examples (KoboToolbox Tutorial #3)
How to Build a KoboToolbox Form: Video Tutorial (KoboToolbox Tutorial #4)
KoboToolbox Settings: Form Style, Metadata and Sharing (KoboToolbox tutorial #5)
How to Deploy a KoboToolbox Form to KoboCollect in Android Phones (KoboToolbox Tutorial #6)
How to Collect Data with KoboCollect: Step-by-Step Guide (KoboToolbox Tutorial #7)
KoboCollect Settings: How to Configure the App for Fieldwork (KoboToolbox Tutorial #8)
Data Management in KoboToolbox: Reports, Validation & Export (KoboToolbox Tutorial #9)